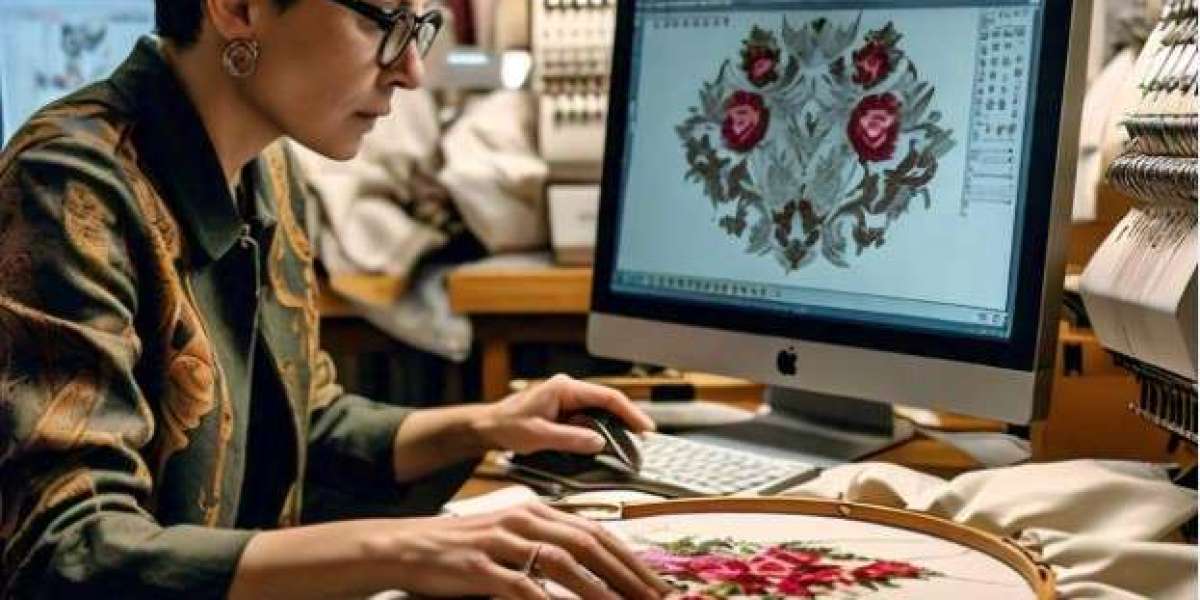
If you're using Hatch Embroidery software, you've probably noticed just how powerful it is—especially when it comes to stitch customization. But even with the best tools, your results depend heavily on one thing: knowing which stitch type to use and when.
In this guide, we’ll explore the top stitch type in Hatch Embroidery, how they work, and when to use each for the best results. Whether you’re digitizing logos, lettering, or decorative patterns, this knowledge can take your embroidery from basic to brilliant.
Want machine-ready designs optimized for any stitch type? Try Digitizing Buddy — your go-to expert for custom embroidery digitizing services, trusted by hobbyists and pros.
Why Stitch Types Matter in Hatch Embroidery
Each stitch type in Hatch has its own characteristics, and choosing the right one affects:
- How the design looks on fabric
- How durable and clean the stitching is
- Whether the design runs smoothly on your machine
- How many stitches are used (affecting time & cost)
Let’s break down the top stitch types in Hatch Embroidery and their ideal uses.
1. Satin Stitch (Also Known as Column Stitch)
What it is:
A smooth, zigzag-style stitch used for narrow, long shapes and text. It creates a shiny, raised appearance.
Best for:
- Lettering (especially under 1 inch)
- Borders and outlines
- Monograms
- Thin curved elements
Avoid when:
Stitch area is too wide (over 8mm) – it may cause looping or thread breaks.
Pro tip:
Use split satin or auto-split settings for larger satin areas to maintain tension.
2. Fill Stitch (Tatami Fill)
What it is:
A low-profile, back-and-forth fill used to cover larger areas. It uses alternating stitch directions for texture and strength.
Best for:
- Large logos
- Backgrounds
- Shapes with wide coverage
Avoid when:
You’re working with very small shapes or fine details—tatami can overwhelm them.
Pro tip:
Use pattern fills within Hatch to create artistic textures or reduce stitch count.
3. Running Stitch
What it is:
A single-line stitch that follows a path—great for outlines, underlays, or delicate details.
Best for:
- Outlines and fine borders
- Details in sketches or redwork
- Underlay (foundation stitching before satin/fill)
Avoid when:
You need solid coverage—running stitch doesn’t fill areas.
Pro tip:
Use triple run in Hatch for more visibility when outlining.
4. Zigzag Stitch
What it is:
A flexible, open zigzag used similarly to satin, but with lighter coverage. Works great for decorative and functional purposes.
Best for:
- Appliqué edging
- Decorative effects
- Lightweight fabrics
Avoid when:
You need full coverage or a polished satin look.
Pro tip:
Use zigzag when you want to minimize stitch count while still getting good coverage.
5. Motif Stitch
What it is:
A decorative stitch that repeats a pattern or shape—often used for borders or stylized elements.
Best for:
- Borders
- Decorative outlines
- Children’s embroidery designs
Avoid when:
Working on logos or professional branding—motif stitch can look too playful.
Pro tip:
Hatch lets you choose from built-in motifs or create custom patterns for unique designs.
6. Embossed Fill
What it is:
A special type of fill that creates raised or patterned textures using repeated stitch paths and angle changes.
Best for:
- Creative textures
- Home décor pieces
- Large decorative elements
Avoid when:
You want smooth surfaces—embossed fill is more dimensional.
Pro tip:
Combine with subtle color variations for quilt-like effects.
7. Cross Stitch
What it is:
Creates X-shaped stitches that mimic hand embroidery styles—often used in traditional or folk-style designs.
Best for:
- Vintage-style embroidery
- Craft projects
- Sampler pieces
Avoid when:
You need precision or modern branding—it doesn’t give a sharp appearance.
Bonus: Hatch Auto-Digitizing vs Manual Stitch Control
Hatch allows both auto-digitizing and manual digitizing. While auto tools are fast, they might not always select the best stitch types for each design element.
Why manual stitch selection matters:
- You control density, angles, and underlay
- You reduce thread breaks by planning transitions
- You optimize the design for your fabric and hoop size
Hatch Pro Tip:
Use Object Properties > Fill > Type to switch between stitch types for each shape. Preview your changes with TrueView before saving.
Quick Comparison Table
Stitch Type | Best For | Coverage | Fabric Suitability |
Satin Stitch | Text, borders | High | Stable fabrics, knits |
Fill Stitch | Logos, large shapes | Medium | Most fabrics |
Running Stitch | Outlines, details, underlay | Low | Lightweight fabrics, sketch art |
Zigzag Stitch | Appliqué, light coverage | Medium-Low | Light to medium fabrics |
Motif Stitch | Decorative borders | Varies | Any, especially creative projects |
Embossed Fill | Texture & patterns | Medium-High | Towels, heavy fabrics |
Cross Stitch | Hand embroidery style | Medium | Natural or canvas fabrics |
When to Combine Stitch Types in One Design
Great embroidery isn't about using one stitch type—it’s about knowing when to combine them.
Here are a few examples:
Logo on a Cap
- Text = Satin Stitch
- Background = Fill Stitch
- Outline = Running Stitch
T-Shirt Design
- Small text = Triple Run
- Illustration = Fill + Satin
- Decorative accents = Motif Stitch
Decorative Hoop Art
- Main artwork = Embossed Fill
- Floral details = Satin + Running
- Borders = Motif Stitch
The result? A professional-quality design that looks intentional and polished, not flat or basic.
Need Help with Hatch Stitch Settings?
Sometimes Hatch’s vast stitch controls can feel overwhelming. That’s when it helps to get a professionally digitized file, built for your specific project.
Why Use a Service Like Digitizing Buddy?
- We match stitch types to fabrics
- Ensure minimal jump stitches
- Use correct densities for your machine
- Deliver machine-ready files (EMB, DST, PES, JAN, and more)
Whether you're a Hatch beginner or an experienced digitizer, we make sure your designs stitch beautifully the first time.
Final Thoughts
Mastering stitch types in Hatch Embroidery is key to creating designs that look good on-screen and on fabric.
To recap:
- Use Satin for clean text and outlines
- Use Fill for solid areas
- Use Running for precision and detail
- Use Zigzag/Motif/Embossed for creative flair
And most importantly—test your design on similar fabric before mass production.